Import Applicants Data
The second way of adding Applicants is by importing them via CSV or Excel. Down below are two downloadable files. Please click on them to download the respective file.
Once you open the file, you will see 2 rows. Row 1 contains all the headers necessary for the importation to work correctly.
On the second row you will see an example applicant. Please use this as a guide for all your other applicants.
You may delete any column if you do not wish to import that specific information.
If you wish to add a field, please view the table below for all acceptable column names.
The column names can be inputted with Upper case letters and spaces. EX: "First Name" is acceptable and will be read as "firstname".
| Field | Acceptable Column Names |
|---|---|
| First/Middle Name |
|
| Last Name |
|
| Title |
|
| Rank |
|
| Address Line 1 |
|
| Address Line 2 |
|
| City |
|
| State/Province |
|
| Zipcode/Postal Code |
|
| Country |
|
| Issue Date |
|
| Expiration Date |
|
| Hire Date |
|
| Date of Birth |
|
| Height |
|
| Weight |
|
| Eye Color |
|
| Hair Color |
|
| Sex |
|
| Badge No. |
|
| Helpline |
|
| Supervisor Name |
|
| Supervisor Title |
|
| Additional Date Field 1 |
|
| Additional Date Field 2 |
|
| Additional Date Field 3 |
|
| Additional Text Field 1 |
|
| Additional Text Field 2 |
|
| Additional Text Field 3 |
|
| Endorsement 1 |
|
| Endorsement 2 |
|
| Endorsement 3 |
|
| Endorsement 4 |
|
| Endorsement 5 |
|
| URL QRCode |
|
Certain Fields require specific information or it will not be imported. Down below is another table with all the fields and their specific information.
Just like the Headers, these values are not restricted by case sensetivity, but they are space sensetive. EX: "ReDaubUrn" will work but "Red Auburn" will not work.
| Field | Values Allowed |
|---|---|
| Country | United States
|
| State | United States
|
| Province | Canada
|
| Eye |
|
| Hair |
|
| Sex |
|
| Endorsements |
|
| URL QRCode | Any website link but it requires proper format
|
As you finish inputting all your applicant's information, please save the file and go back to the GETIDPaaS Website.
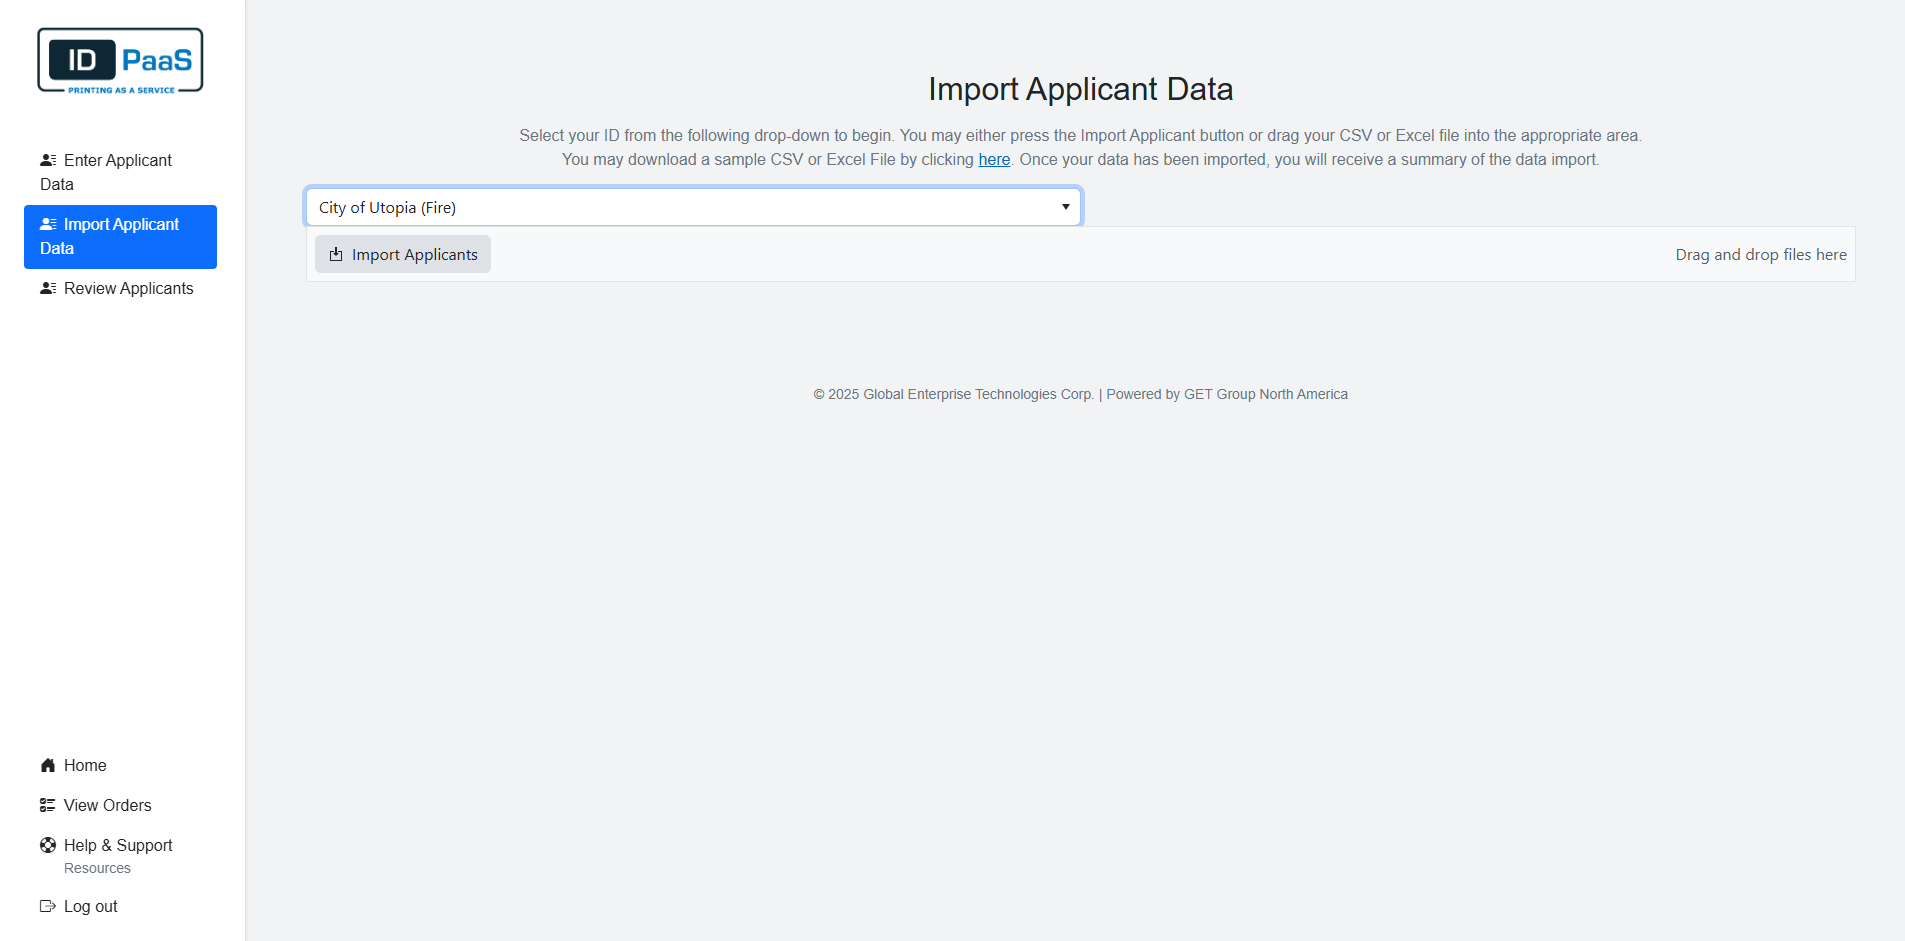
Please click on Enter Data from the main page. Then on the left Navigation, click on the Tab "Import Applicant Data"
Another drop-down list like on the Enter Applicant Data will appear. All your current IDs will be there. Please select one of your ID's. A button/upload link will then appear. There you can either select the file from your file explorer or drag and drop it there. Your applicants will then begin to be imported.
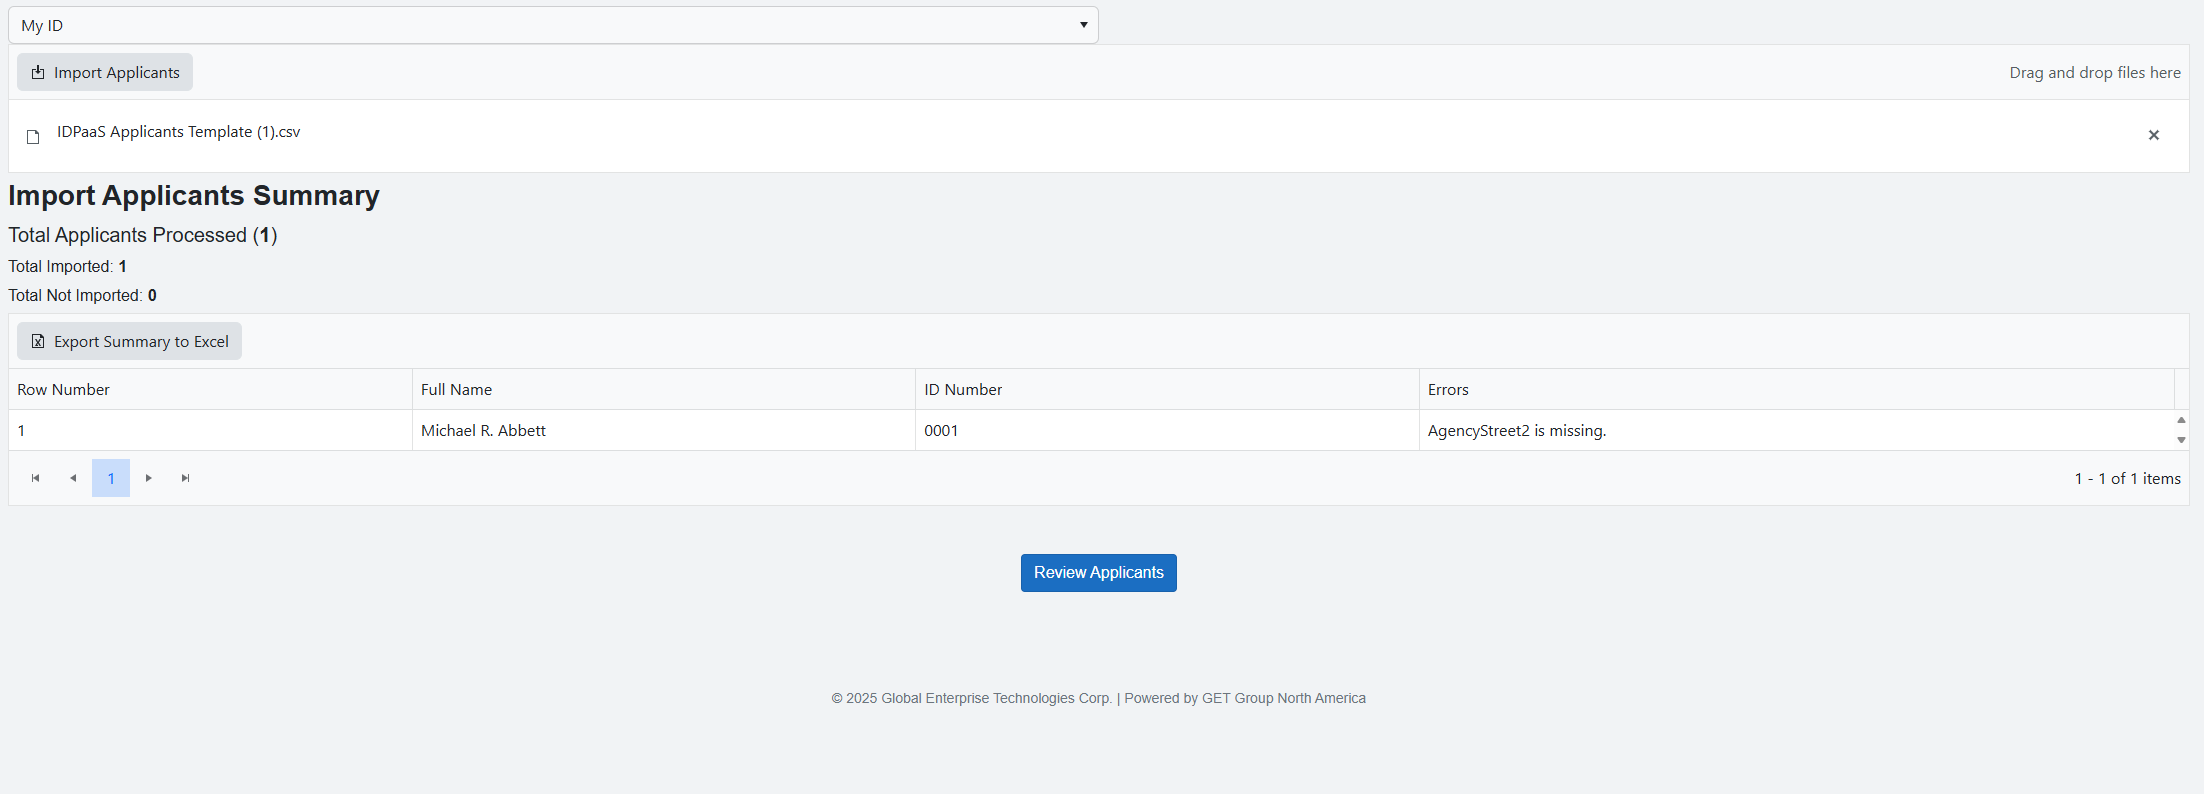
After your applicants are imported, a summary sheet will be displayed on your screen. If the importer ran into any issues, it would display them here along with the row that had the issue. You may also download the summary sheet by clicking the "Export Summary to Excel" button to reference at any time.